Showing posts with label Rosette. Show all posts

Tuesday, July 24, 2012

Back Porch Memories

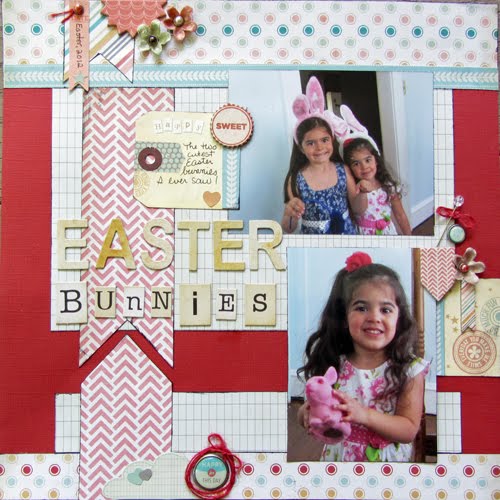
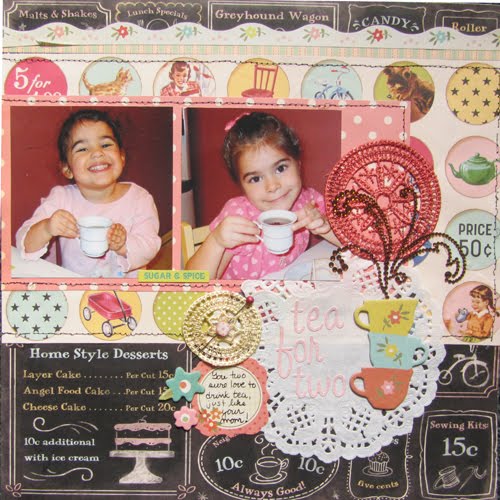
If you never checked out the kits over at Back Porch Memories be sure to do so. I was the guest designer for the month of July and here are the layouts I created with the kits. I got four layouts out of the one kit!


.


Here is a layout I did for a challenge over at Back Porch memories

Sunday, April 22, 2012

Awesome, no score rosettes

Hi all,I lost my hard drive, and most things I was able to recover but not my sketches file, but I started again! Be sure to check it out over at my blog, For the Love of Sketches Here is the layout I made using the sketch using the awesome April kit over at Boysrulescrapbook. Seriously, you have to check out her site, not only are the kits awesome with a capital A, the sketches are terrific! I want to thank Laura-Lee for having me as a guest designer. It was so much fun!

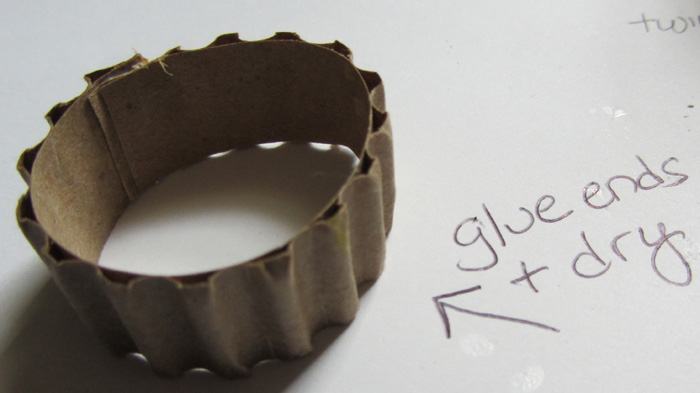
Now as promised, here is how I made this terrific, easy no scoring involved rosettes that are featured on the layout above.


1.This is what you need
I cut my corrugated cardboard strips 4 1/2 by 3/4.


2. Glue ends


3. Make your rosette, be sure to glue a circle on the back to help hold down the cardboard. I used leftover paper for the back.


4. Wrap twine.


5. Add your circle and it's done, easy peasey (and no scoring involved)!

Wednesday, February 15, 2012

Rosette Cupcake Gift Card

Today I made this delicious cupcake gift card holder using the same procedure you would to make a rosette flower, except the only difference is I only glued the sides and bottom to the back of the gift card holder. This allowed the back to be open and enabled me to slide in a gift card into the back, pretty cool huh? I used:
Momenta 12X12 LET'S PARTY PYRAMID PAPER PAD PA-2386 (let me tell you the colors in this paper pack are fantastic!
Momenta PUFFY TITLE STICKER ST-2129
Momenta MINI PUFFY ICON STICKERS ST-3233 (because who doesn't love sprinkles on their cupcake.
Added some glitter around the edges, a button and twine for the cherry and some rick rack.

Here is the template I used, but you can find some on the internet just do a search for cupcake outline or template. You will need to cut out two of the top piece. The second piece I cut to finish off the top of the back. Make sure you use double sided paper that you like on both on sides!